
Tools needed
- Get Vagrant and install it on our computer. This step is required even if you want to directly use an official CentOS 7 image with no custom tweaks.
- Install VirtualBox, as a virtualization product.
- Get the latest CentOS 7 minimal ISO
Creating the VM
- In VirtualBox, create a new VM (CTRL+N), providing a name, type Linux and version Red Hat (64-bit), and click on Next
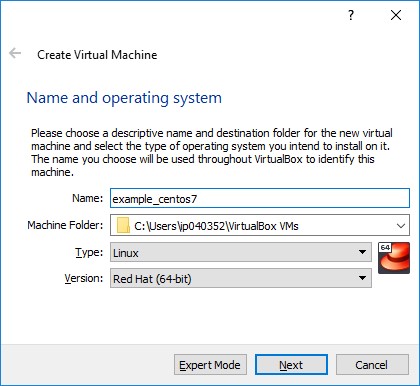 Figure 1: Choosing VM name and operating system
- You may specify the memory size for the VM, but this can be changed later, and click on Next
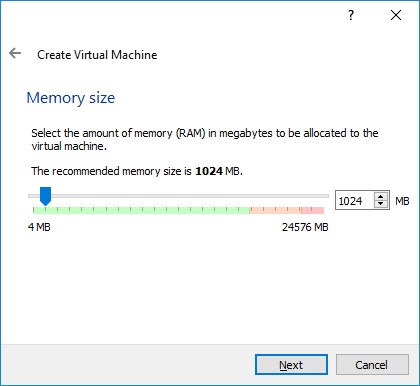
Figure 2: Choosing memory size
- You need to choose the option to create a virtual hard disk for your VM before you click on Create
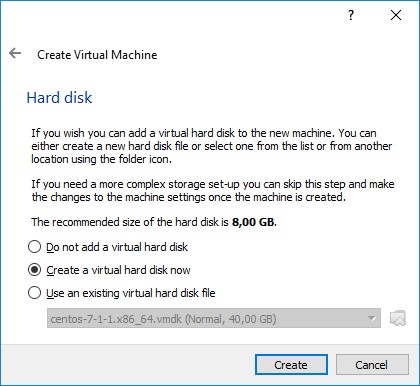
Figure 3: Choosing disk size
- Choose VirtualBox Disk Image as your hard disk file type and click on Next
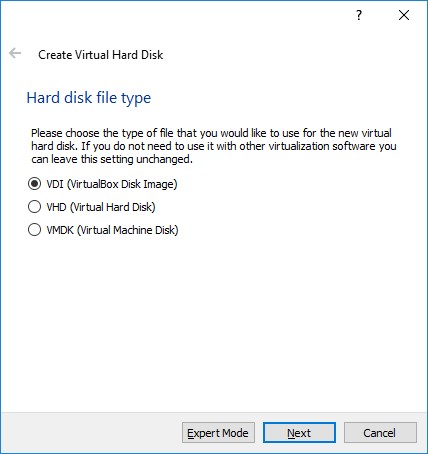
Figure 4: Choosing hard disk file type
- Specify the type of storage you want for your physical hard disk and click on Next
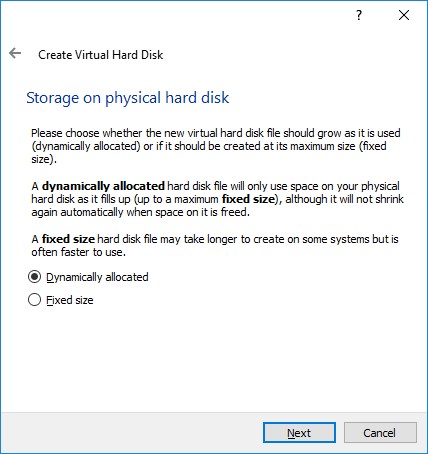
Figure 5: Choosing disk storage allocation
- Specify the max size you want for your VM disk and click on Create
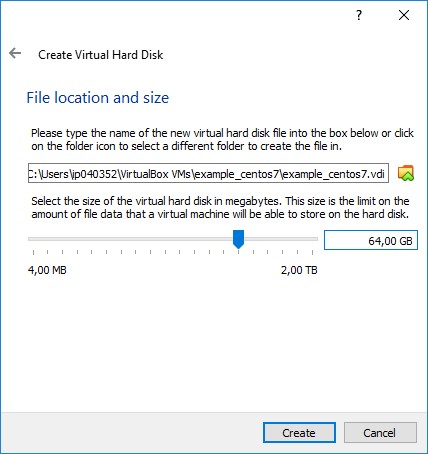
Figure 6: Choosing disk location and size
- A new VM is added to the list displayed on VirtualBox
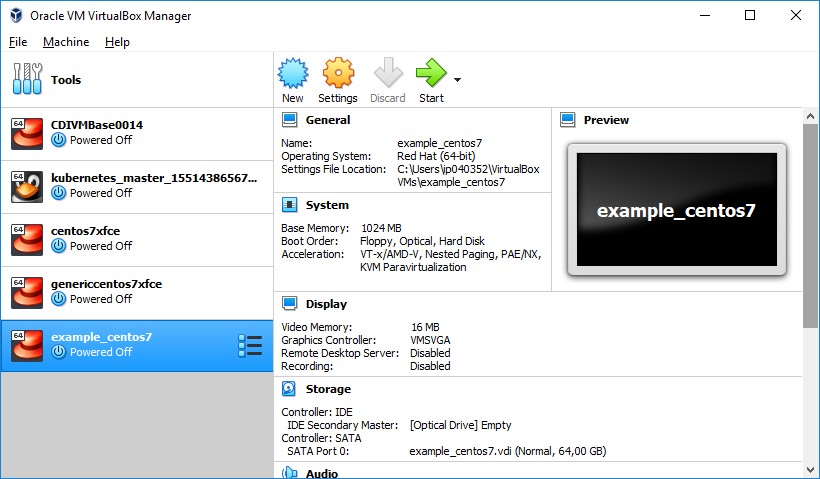
Figure 7: VirtualBox Manager with new VM
Configuring the VM
- Choose the VM you just created and click on settings (CTRL+S). The settings window opens, displaying the General tab. Nothing to do here
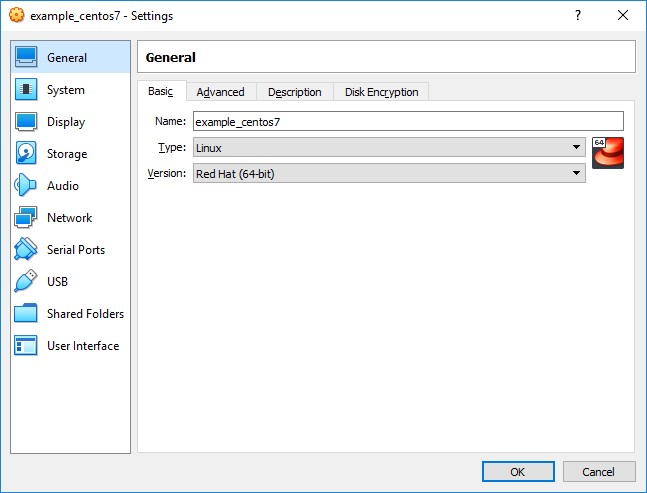
Figure 8: New VM general settings
- Move to the system tab, if you want to change the memory or number of CPUs to allocate to the VM
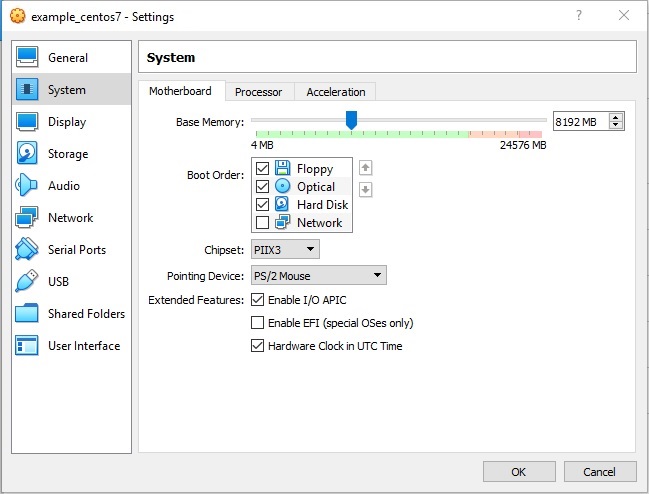
Figure 9: New VM system settings
- Move to the display tab where you can change, for example, the number of monitors you want to use with the VM
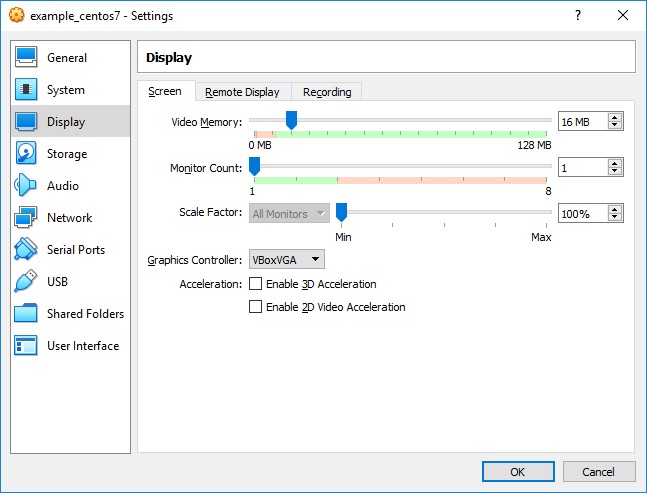
Figure 10: New VM display settings
- Move to the storage tab and select the Empty controller
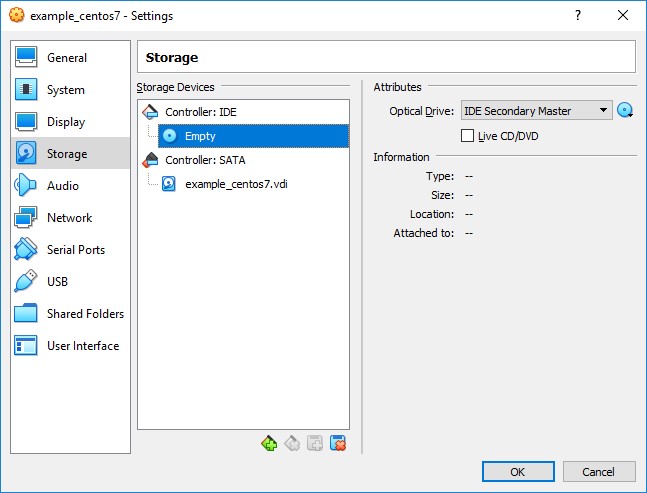
Figure 11: New VM storage settings
- Add the CentOS 7 minimal ISO you’ve previously downloaded
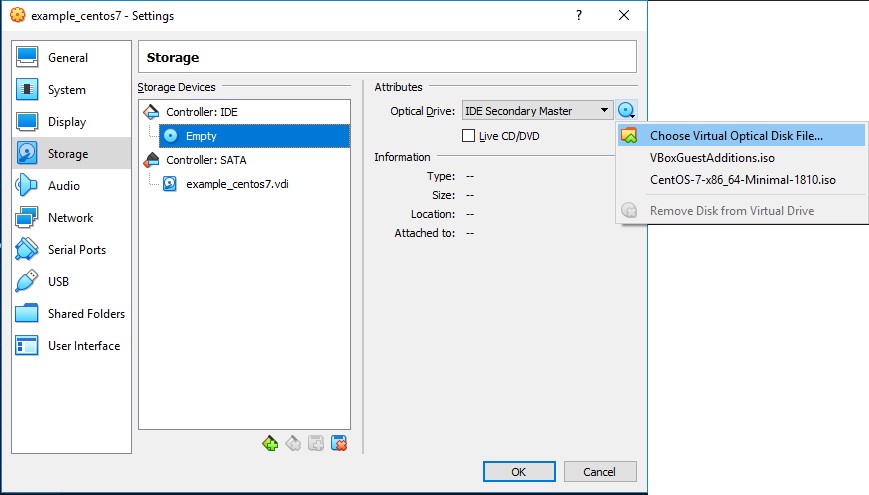
Figure 12: New VM storage settings – selecting the CentOS 7 minimal ISO
- Move to the Audio tab and uncheck the Audio since it won’t be needed
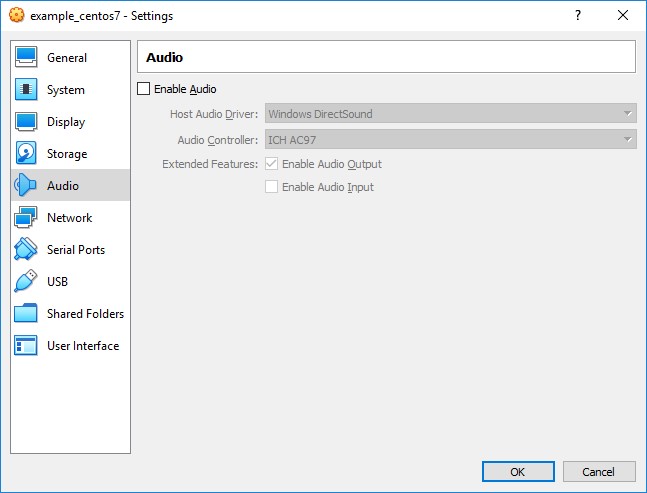
Figure 13: New VM audio settings
- Move to the Network tab and confirm that the Adapter 1 is set to NAT
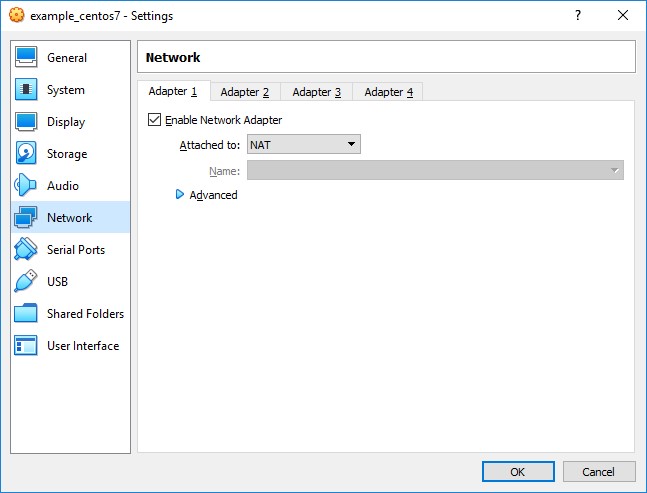
Figure 14: New VM network settings
- Nothing to do on the Serial Ports tab, so move to the USB tab and uncheck the USB controller
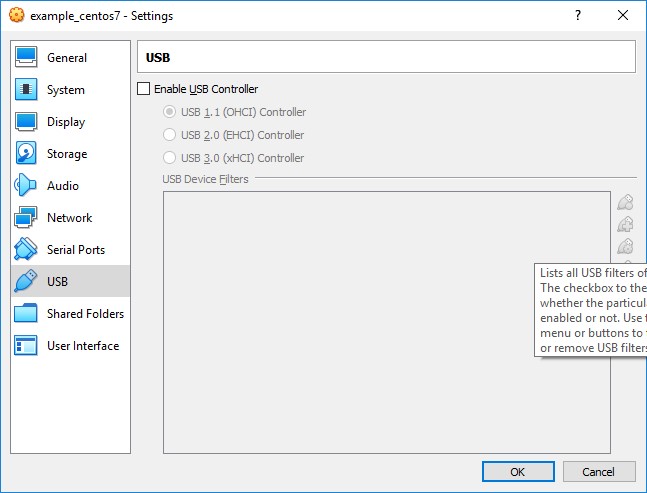
Figure 15: New VM USB settings
- You can add a shared folder later and there is nothing to do on the User Interface tab, so click OK to finish
In this first part, of our three-part article, we have seen how to set up the VM initial configuration. We will continue with the CentOS 7 installation process on the next one…