
CentOS 7 installation
- Start your newly created VM
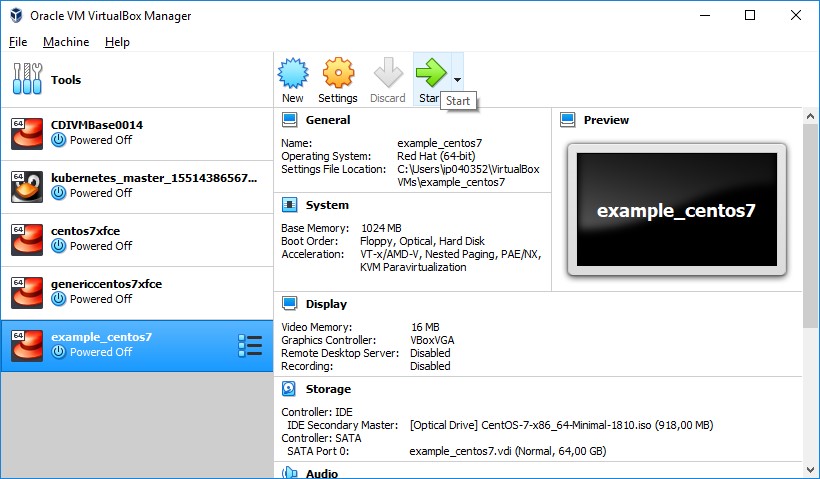
Figure 1: VirtualBox Manager with new VM
- Choose the Install CentOS 7 option and hit ENTER (this may take a while)
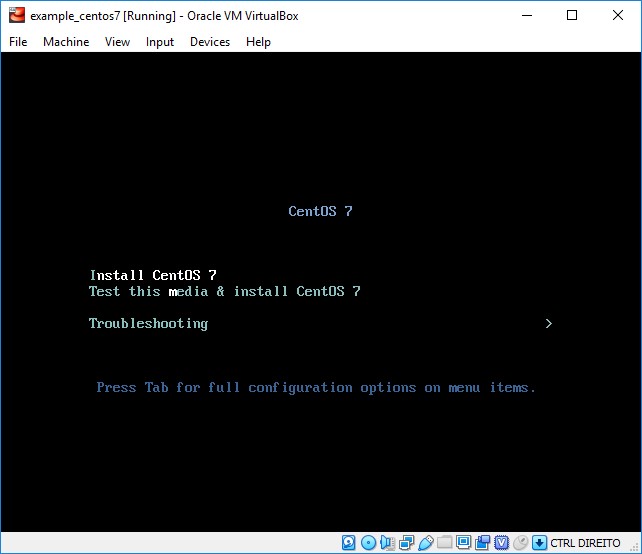
Figure 2: Choosing option to install CentOS 7
- On the Welcome to CentOS 7 screen, choose the language to use during the installation process and click on Continue
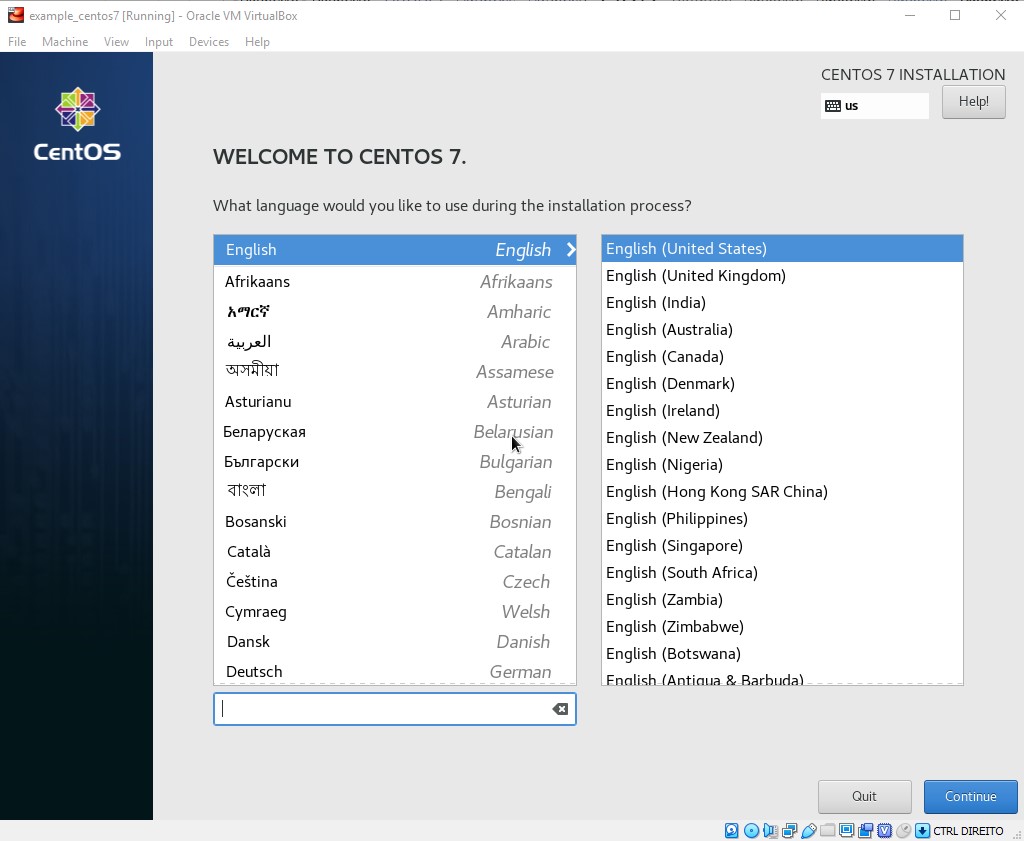
Figure 3: Choosing language for installation process
- Wait a moment for all options to become available for selection (some will appear as disabled when the screen shows up)
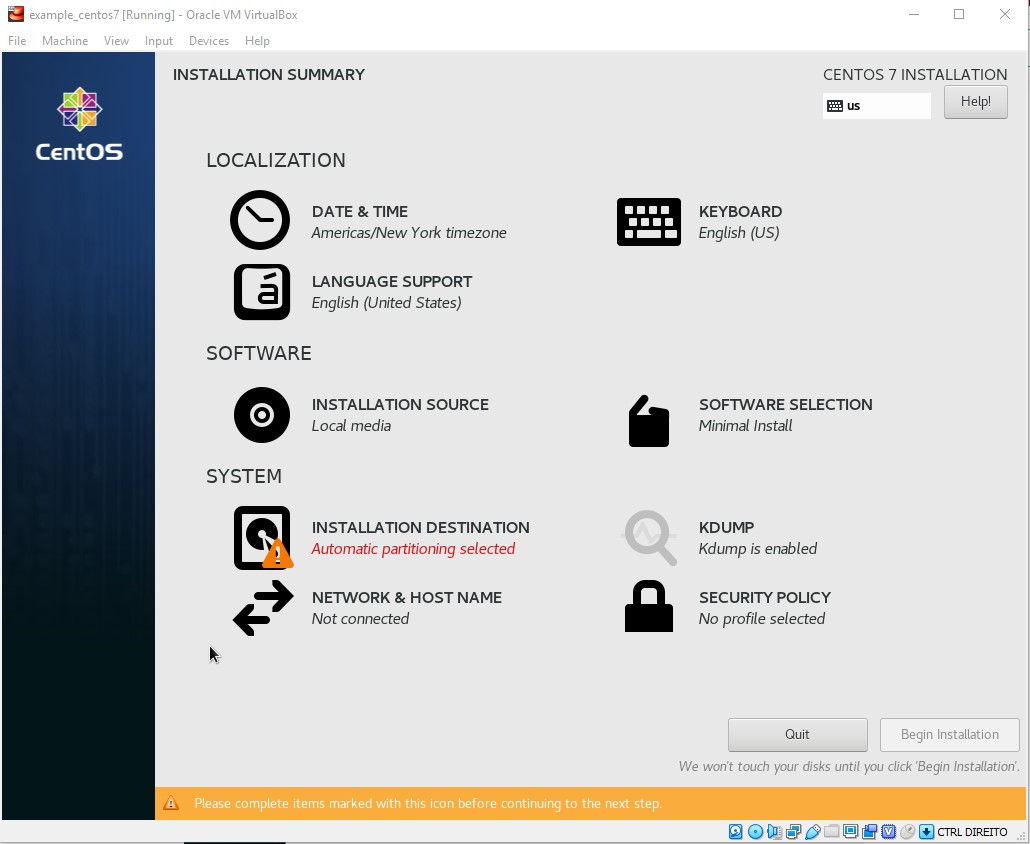
Figure 4: Installation summary
- Choose the option Date & Time, set your time zone and click Done
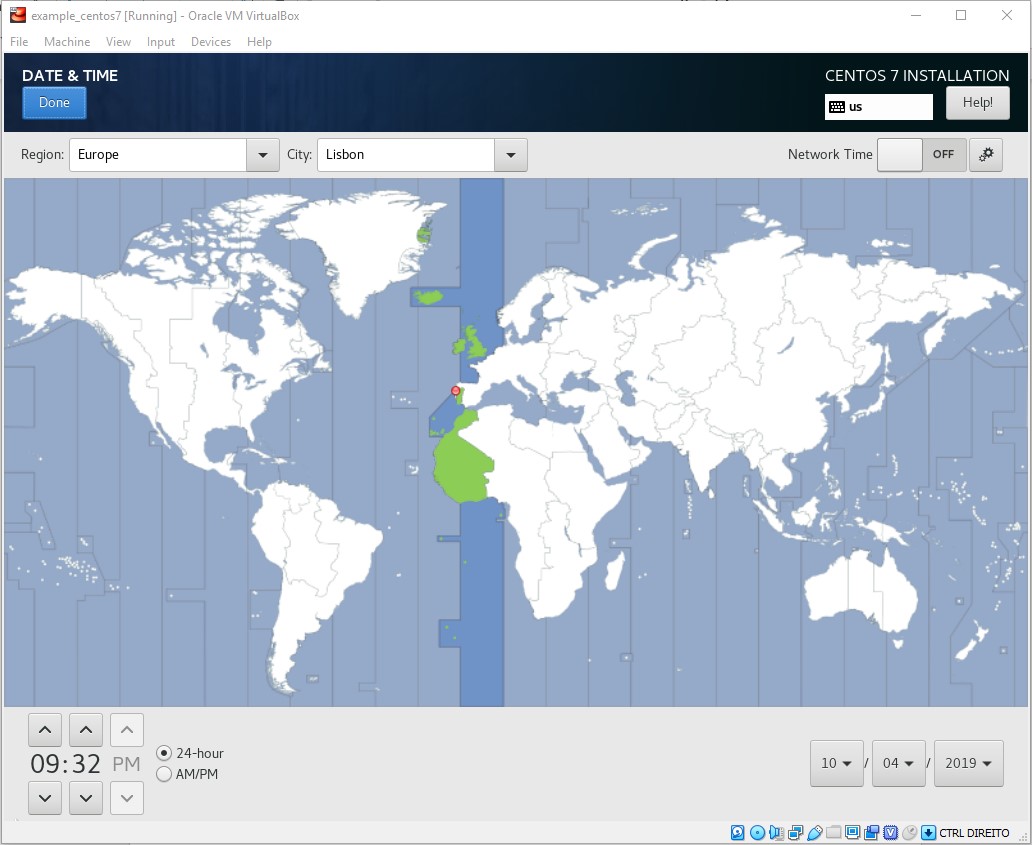
Figure 5: Choosing time zone
- Choose the Keyboard option to specify your keyboard layout
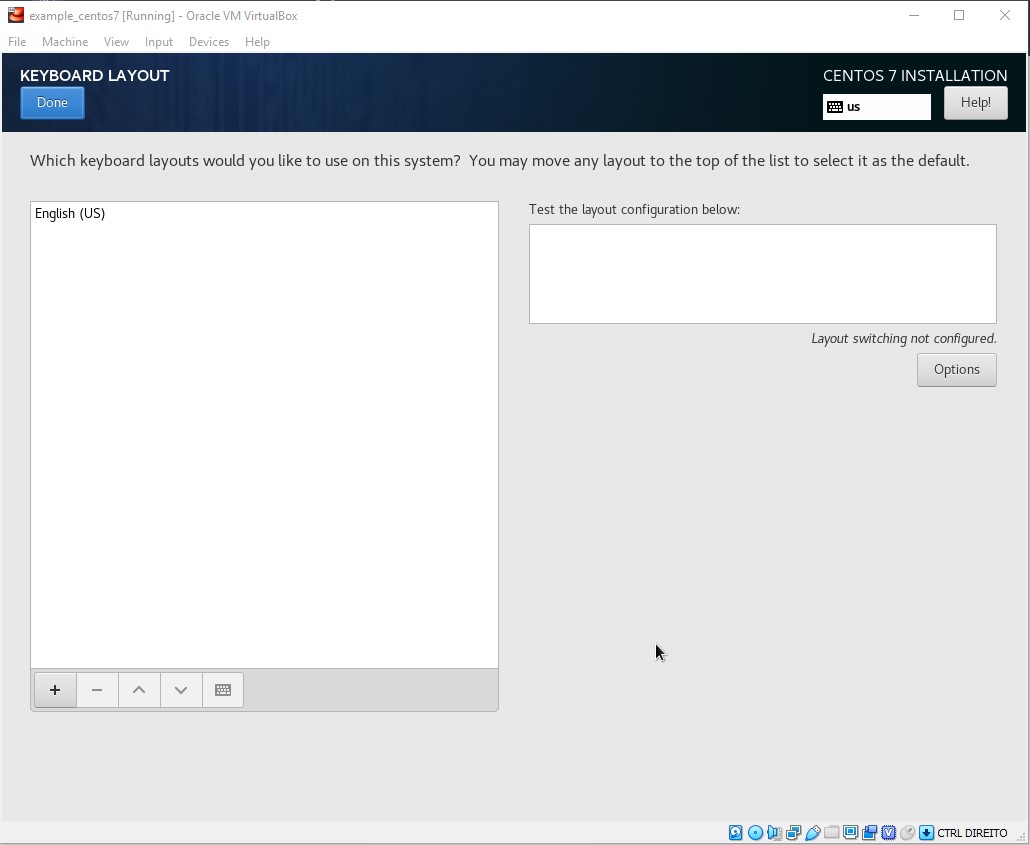
Figure 6: Choosing keyboard layout
- Click on the “+” button, choose the layout from the list and click Add
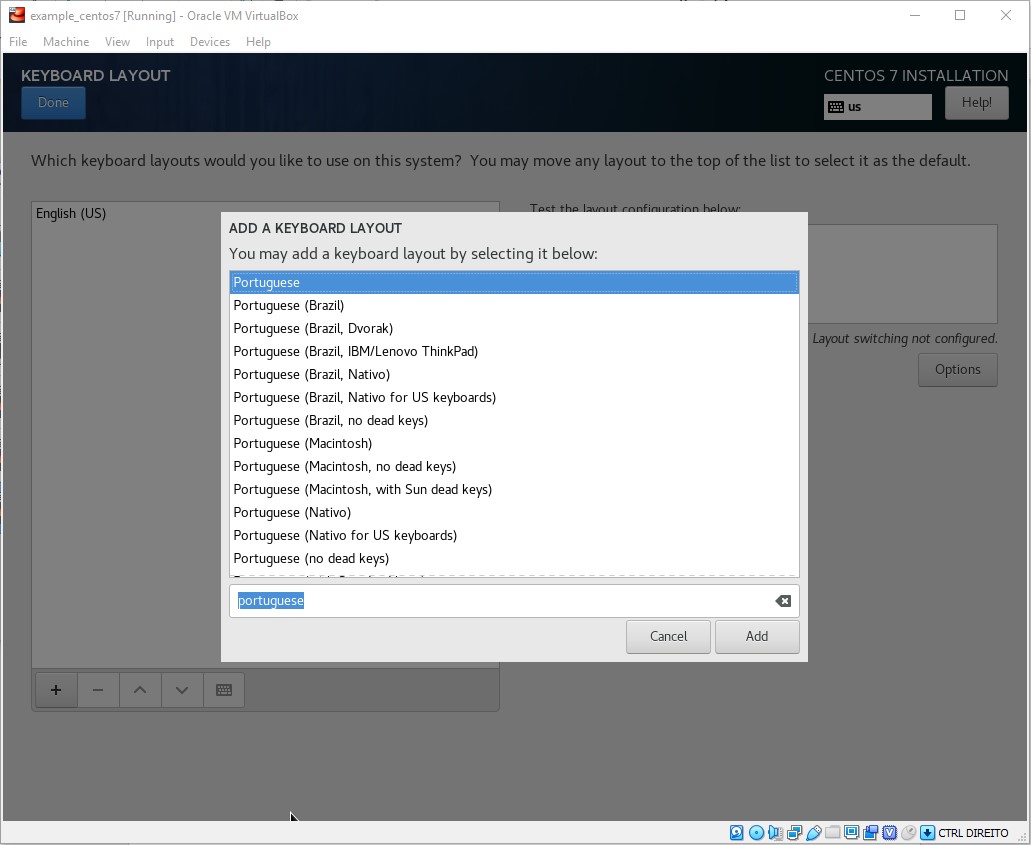
Figure 7: Choosing keyboard layout – add Portuguese layout
- You can now remove any unused keyboard layout. Select the layout you want to remove and click the “-“ button. Click Done, once you’ve finished
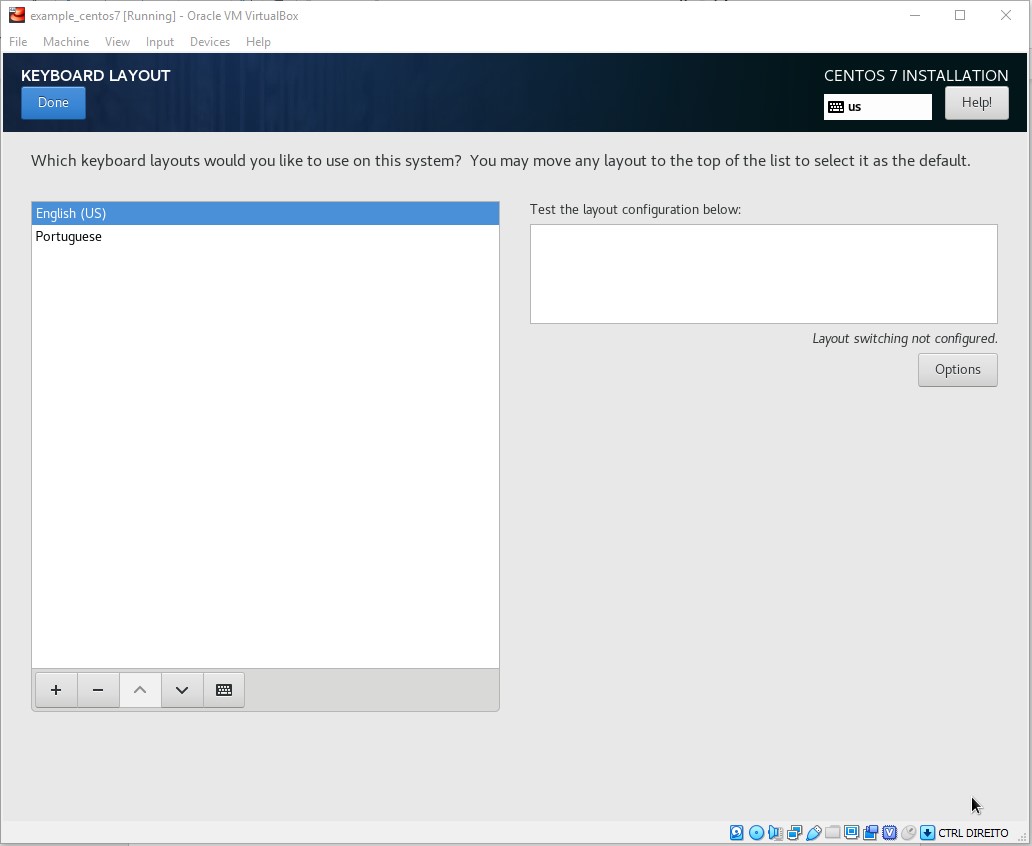
Figure 8: Choosing keyboard layout – remove English layout
- Choose the Language Support option if you want to add any additional language and click Done
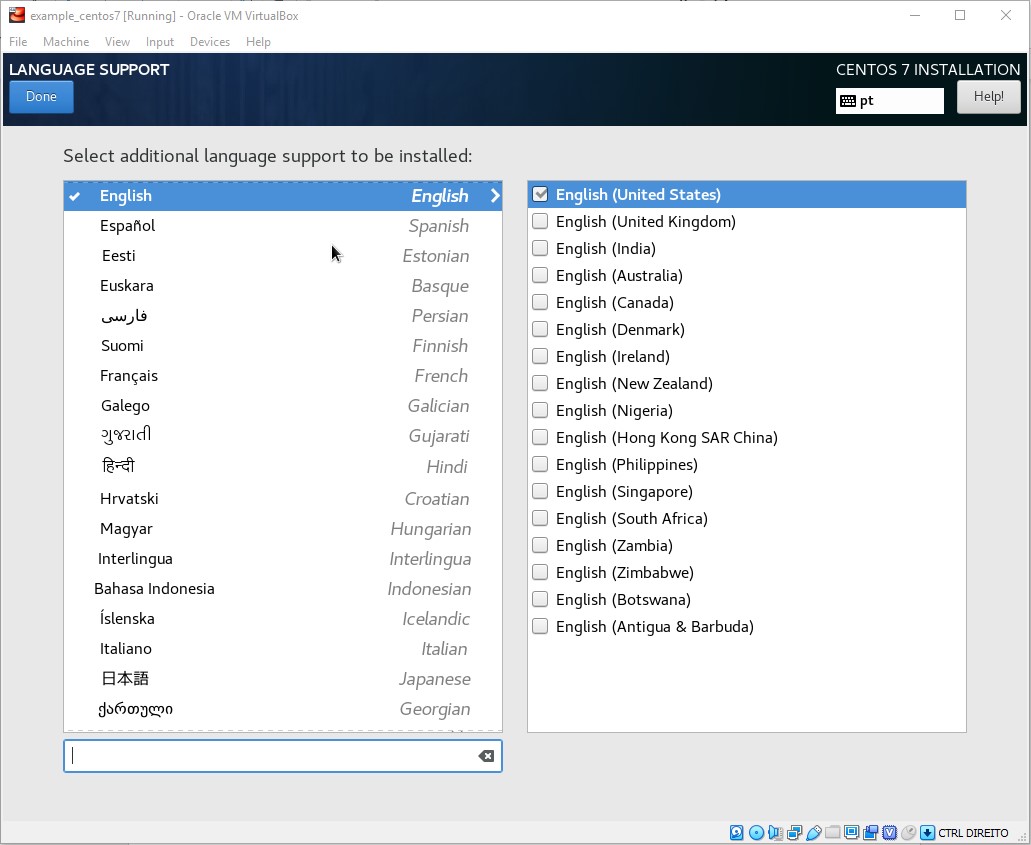
Figure 9: Choosing language support
- There is no need to touch the Installation Source or Software Selection options. Therefore, choose the Installation Destination option to confirm the disk configuration. Everything is already set up by default so just click Done
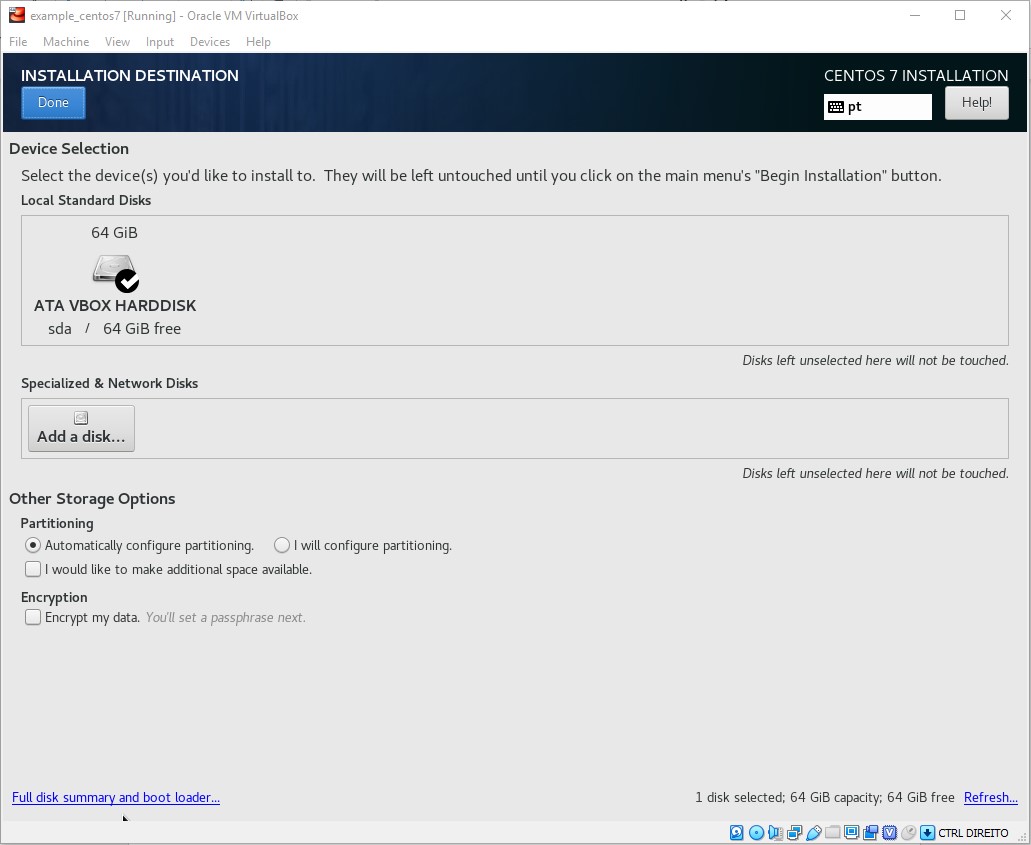
Figure 10: Choosing installation destination
- Choose the option Network & Hostname and turn on Ethernet (enp0s3) and click Done
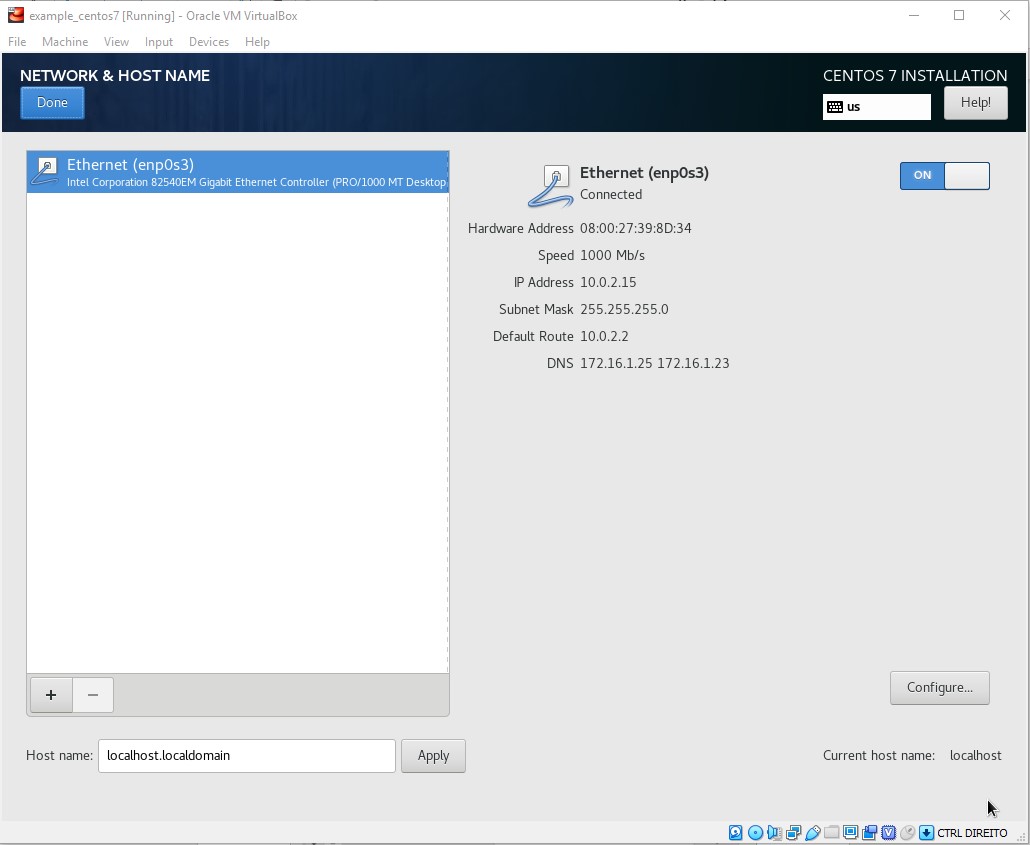
Figure 11: Choosing keyboard network and host name
- No need to touch the Kdump (disabled) and Security Police options, so you can now click on Begin Installation
- While the installation is in progress, you need to set up a Root password and a User. Start by selecting the Root Password option. Input vagrant on both fields and click on Done (you will have to click twice on the Done button before you can proceed)
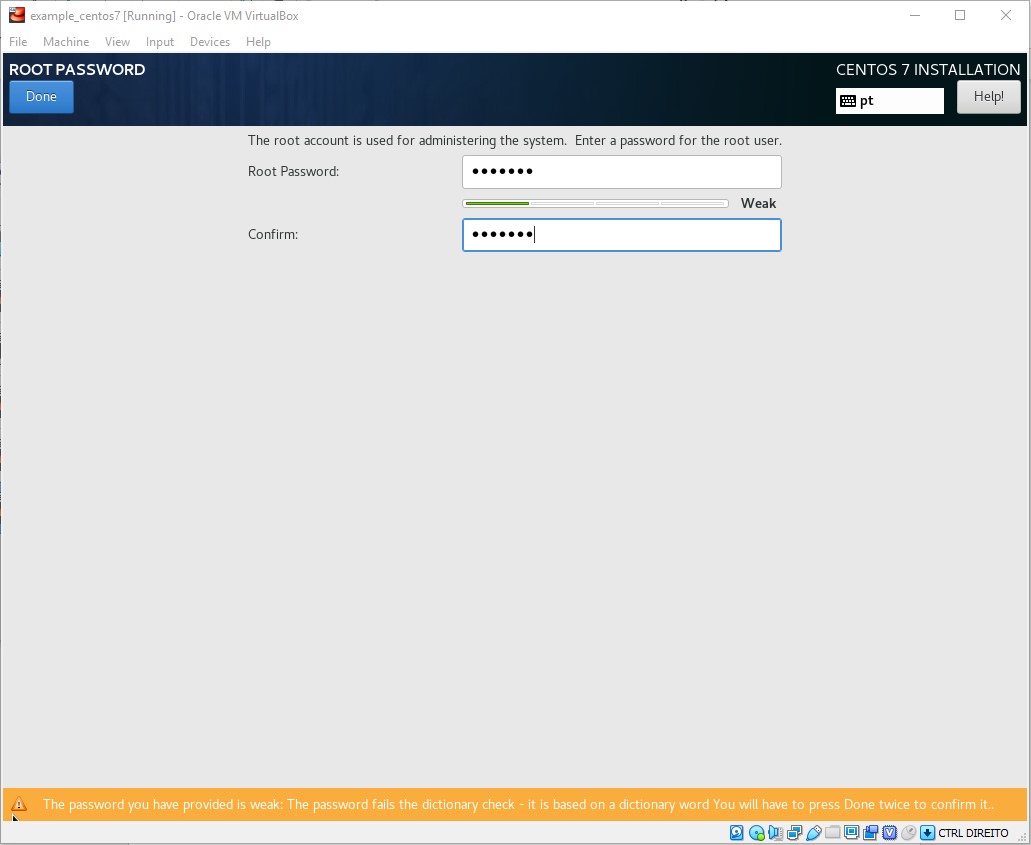
Figure 12: Choosing root password
- Now, create a vagrant user by choosing the User Create option and by specifying vagrant on all fields before clicking Done (you will have to click twice on the Done button before you can proceed)
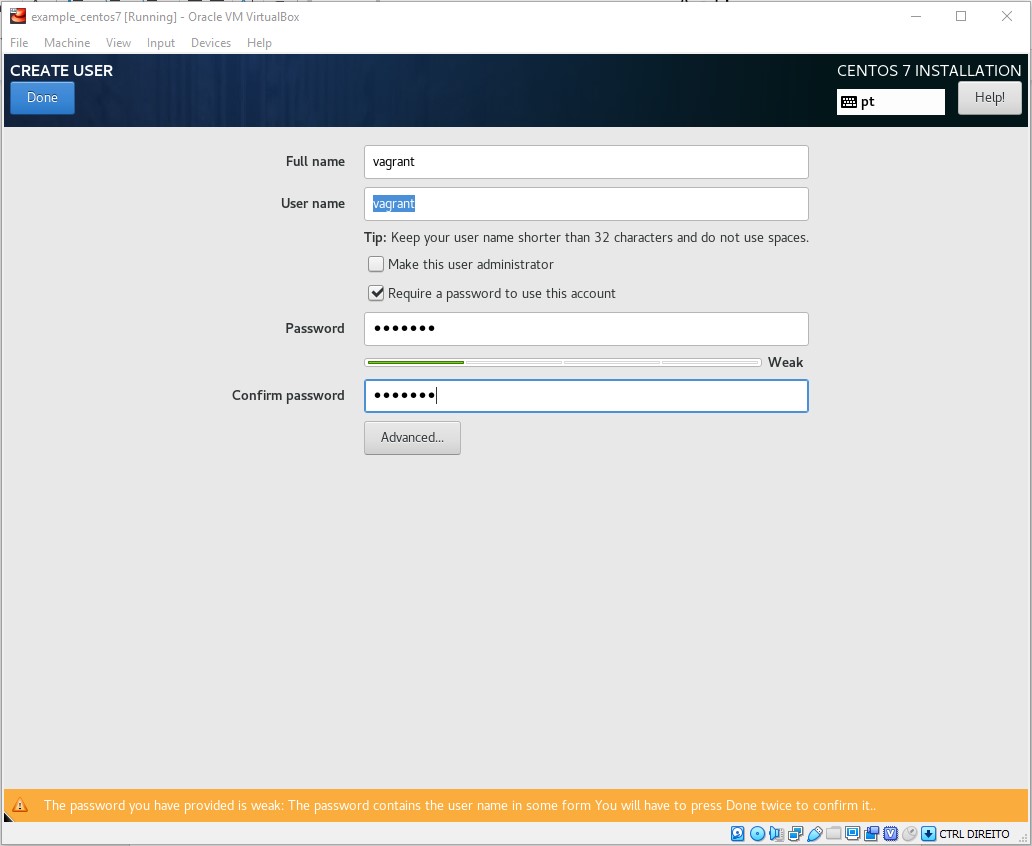
Figure 13: Creating a user
- Now you’ll have to wait for the installation to finish and then click on the Reboot button
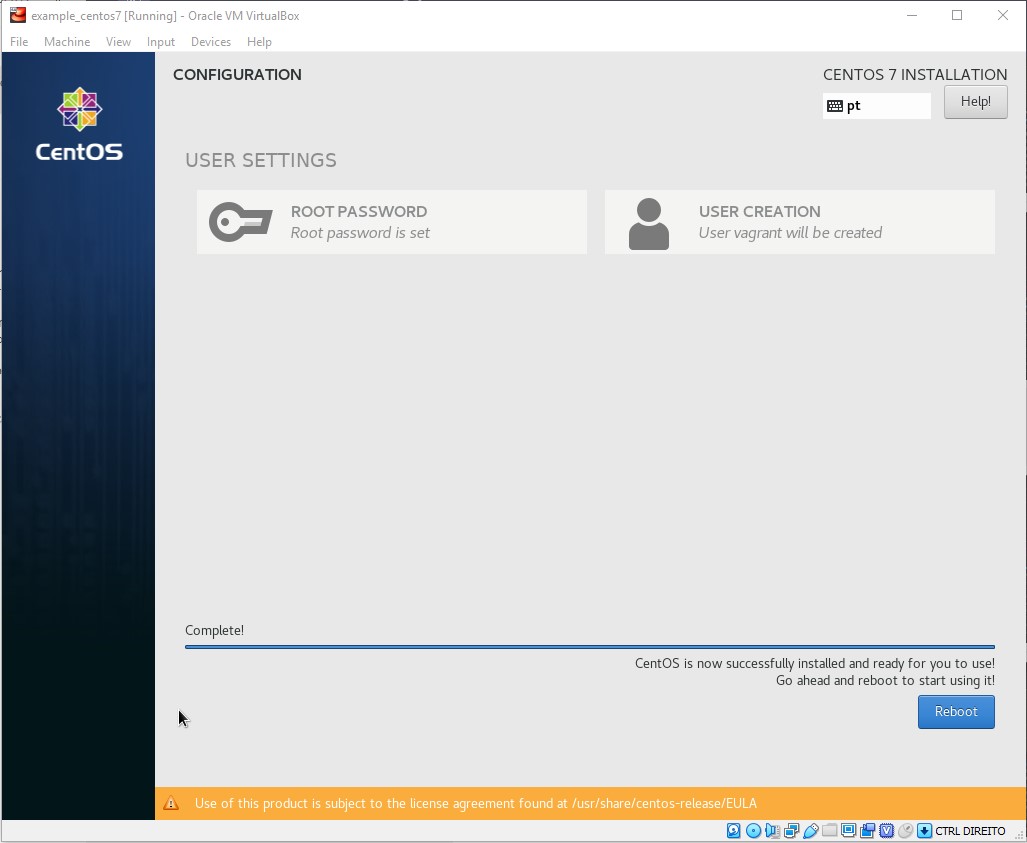
Figure 14: Waiting for setup to complete
- After the reboot you should login with root/vagrant
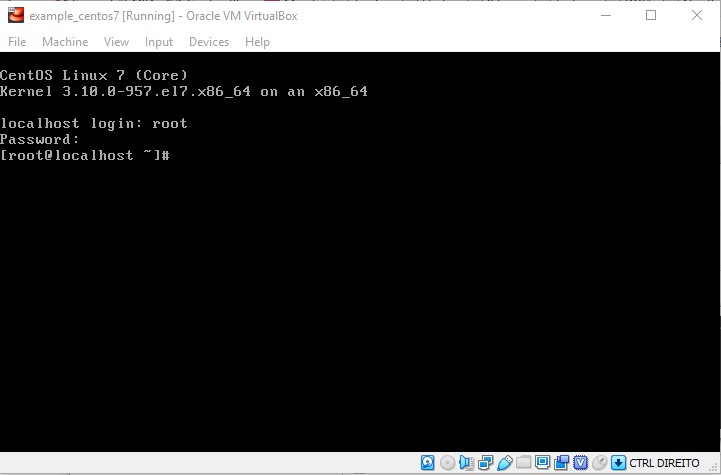
Figure 15: Logging in to the VM
In this second part, of our three-part article, we have seen how to install CentOS 7 into the VM. In the last part we will finish the CentOS 7 configuration and box the VM for Vagrant…